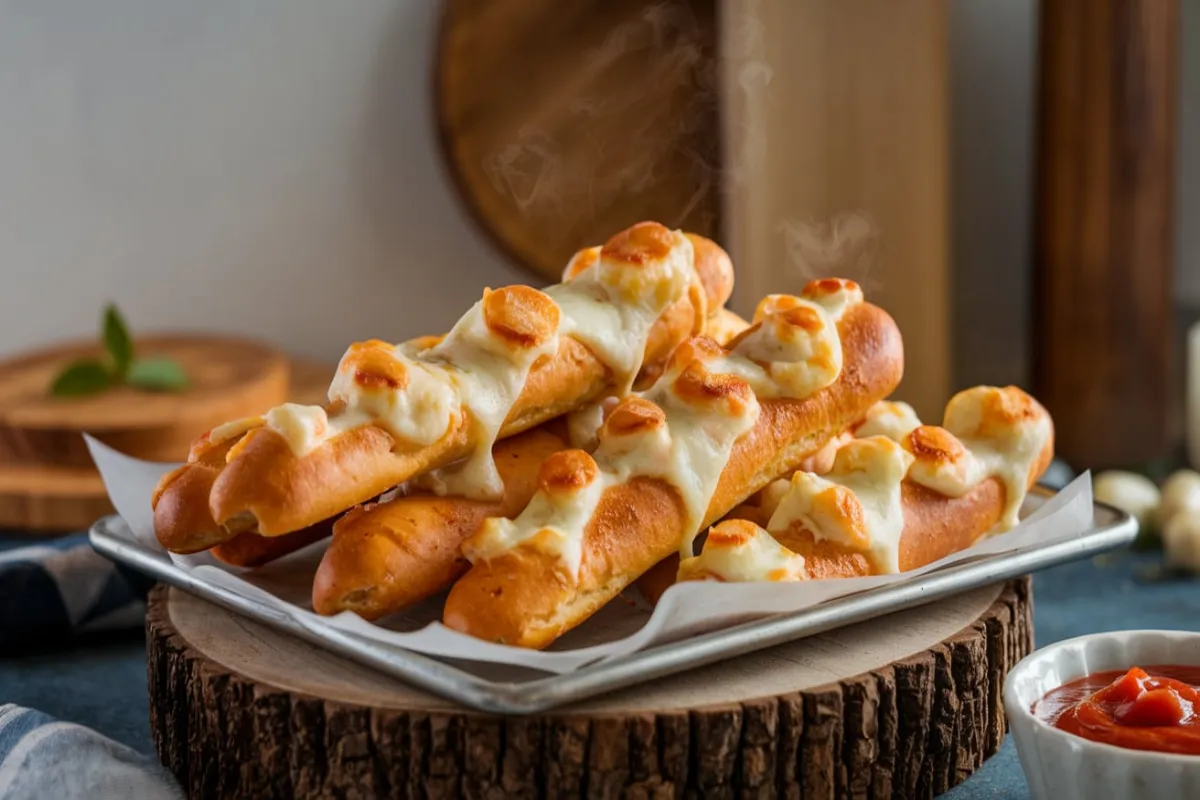
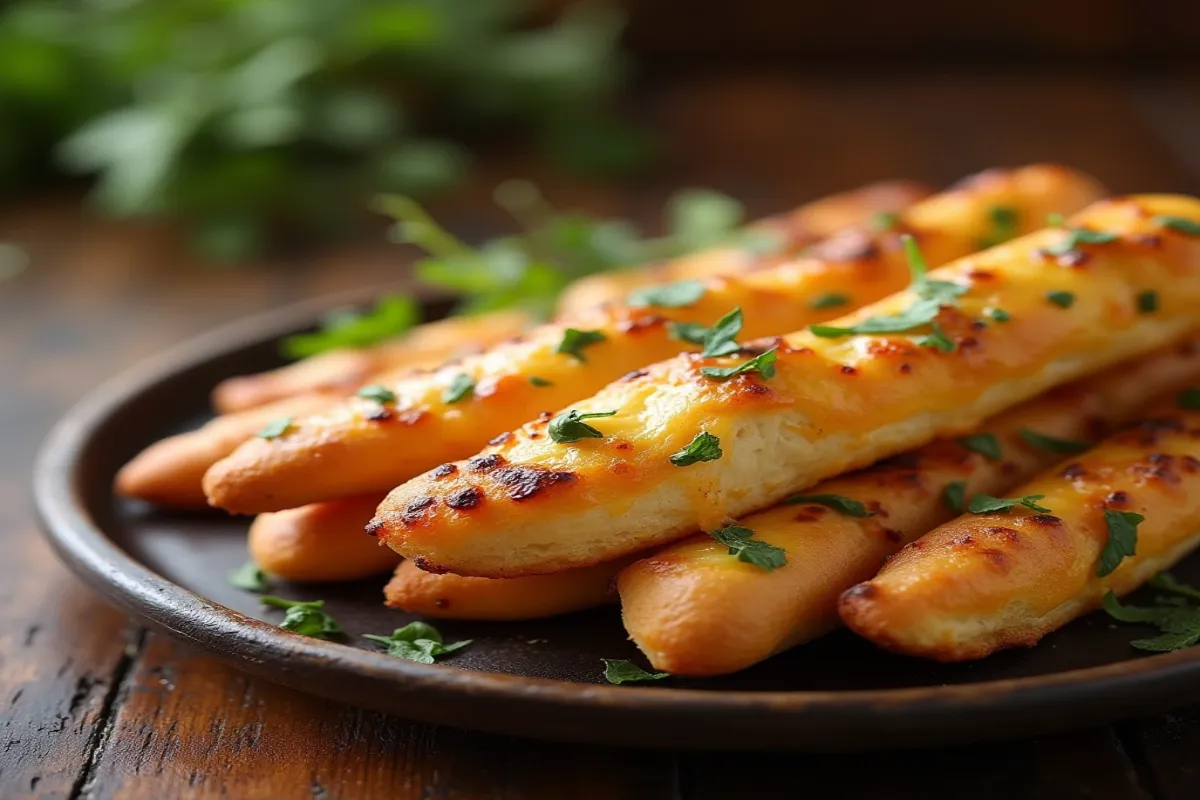
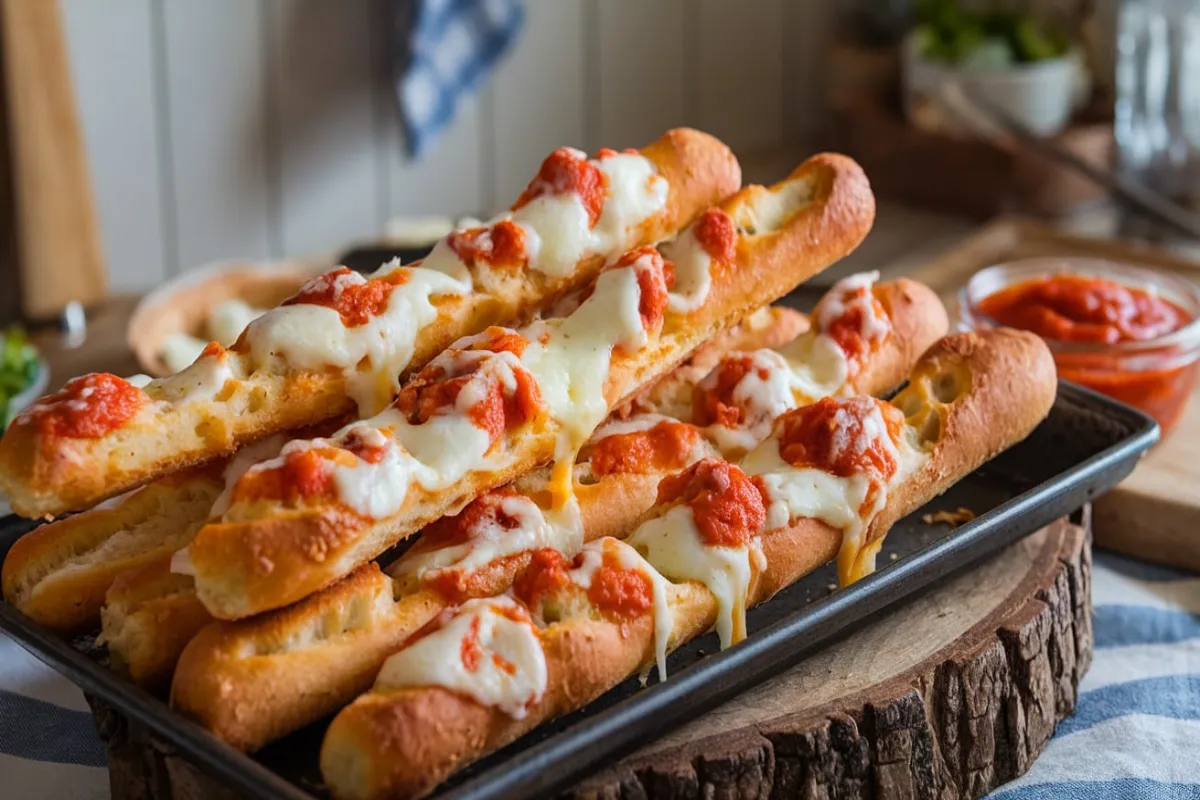
There’s something truly comforting about biting into a warm, soft breadstick, especially when it’s filled with gooey, melted cheese. Whether you’re serving them as a side to your main dish or enjoying them as a standalone snack, cheesy breadsticks have an irresistible appeal. This article will guide you through making cheesy breadsticks from scratch, with step-by-step instructions, ingredient tips, and flavor variations.
How to Make the Best Cheesy Breadsticks
Making cheesy breadsticks at home allows you to control the ingredients, ensuring they’re fresh and tailored to your taste. From the texture of the dough to the type of cheese used, every element can be perfected.
Ingredients for Cheesy Breadsticks
| Ingredient | Quantity |
|---|---|
| All-purpose flour | 2 cups |
| Active dry yeast | 1 tablespoon |
| Warm water | 1 cup |
| Olive oil | 2 tablespoons |
| Sugar | 1 tablespoon |
| Garlic powder | 1 teaspoon |
| Salt | 1 teaspoon |
| Shredded mozzarella cheese | 1 ½ cups |
| Grated Parmesan cheese | ½ cup |
| Fresh parsley or oregano | 2 tablespoons |
These ingredients create a harmonious blend of flavors, from the soft, fluffy bread to the rich, savory cheeses. You can easily customize the recipe by adding additional herbs or spices, depending on your preference. Using fresh mozzarella will result in the best melt and flavor, while the olive oil adds crispiness to the dough.
Step-by-Step Instructions for Perfect Cheesy Breadsticks
1. Preparing the Dough
The base of any good breadstick recipe lies in creating the right dough. Here’s how to get it perfect:
- Activate the Yeast: In a small bowl, dissolve the sugar and yeast in warm water (about 110°F/45°C). Let it sit for 5-10 minutes until it becomes foamy. This means your yeast is active.
- Mix the Dough: In a larger mixing bowl, combine the flour, salt, and garlic powder. Gradually pour in the yeast mixture and olive oil. Stir until a soft dough forms.
- Knead the Dough: On a lightly floured surface, knead the dough for about 8-10 minutes, until it becomes smooth and elastic. The kneading process helps develop gluten, which gives the breadsticks their chewy texture.
- Let the Dough Rise: Place the dough in a greased bowl, cover it with a clean kitchen towel, and let it rise for about an hour, or until it has doubled in size.
2. Shaping the Breadsticks
After the dough has risen, you’re ready to shape the breadsticks:
- Preheat the Oven: Set your oven to 400°F (200°C) to ensure it’s hot and ready when you’re done prepping.
- Roll Out the Dough: Punch the dough down and roll it out into a rectangle, about ¼ inch thick.
- Add Cheese: Sprinkle a generous amount of shredded mozzarella and Parmesan cheese over the dough. You can also add some chopped fresh herbs like parsley or oregano for extra flavor.
- Cut into Strips: Using a pizza cutter or sharp knife, slice the dough into strips. Twist each strip slightly to give them a more rustic look.
3. Baking to Perfection
Now it’s time to bake the breadsticks:
- Arrange on a Baking Sheet: Place the strips on a parchment-lined baking sheet, leaving a little space between each one.
- Bake: Bake for 12-15 minutes, or until the breadsticks are golden brown and the cheese is bubbly. You may want to rotate the pan halfway through baking to ensure even browning.
- Brush with Garlic Butter: For an extra indulgent touch, brush the hot breadsticks with melted garlic butter right after they come out of the oven.
Why Cheesy Breadsticks Are So Addictive
You might be wondering why cheesy breadsticks have such a universal appeal. The answer lies in the combination of flavors and textures:
- Cheese: The gooey, stretchy quality of mozzarella makes these breadsticks irresistible. As it melts, it combines with the dough to create a harmonious bite. According to research, cheese triggers pleasure receptors in the brain, making it a comfort food for many .
- Freshly Baked Dough: There’s nothing like the smell of fresh bread baking in your oven. The warmth and softness of the breadsticks contrast beautifully with the crispy edges, providing a satisfying bite every time .
Tasty Variations for Cheesy Breadsticks
Part of the joy of making cheesy breadsticks at home is how customizable they are. You can experiment with different cheeses, herbs, and toppings to create new flavors:
1. Cheese Variations
- Cheddar: Swap out mozzarella for sharp cheddar for a bolder flavor.
- Provolone: For a more complex taste, try using provolone cheese.
- Gouda: This smoked cheese adds an earthy richness to the breadsticks.
2. Add Some Heat
- Red Pepper Flakes: For a spicy kick, sprinkle red pepper flakes over the cheese before baking.
- Jalapeños: Add thin slices of jalapeños for a Tex-Mex twist on traditional breadsticks.
3. Herb Infusions
- Rosemary and Thyme: Infuse your breadsticks with fresh rosemary and thyme for a Mediterranean flair.
- Basil and Oregano: These Italian herbs complement the cheesy richness beautifully.
4. Serve with Delicious Dips
Cheesy breadsticks are even better when paired with a flavorful dip. Some of the most popular dipping options include:
- Marinara sauce: This classic tomato sauce complements the savory flavor of the breadsticks.
- Ranch dressing: The creamy, tangy nature of ranch adds a satisfying contrast to the breadsticks’ richness.
- Garlic butter: For an indulgent treat, dip your breadsticks in melted garlic butter, enhancing the garlic flavor already in the dough .
 Health Benefits of Homemade Cheesy Breadsticks
While breadsticks are often seen as an indulgence, making them at home gives you the opportunity to create a healthier version. Here are a few ways you can make your cheesy breadsticks a bit more nutritious:
1. Whole Wheat Flour
Instead of all-purpose flour, try using whole wheat flour. It’s higher in fiber, which aids digestion and helps you feel fuller for longer.
2. Olive Oil Over Butter
Many restaurant breadsticks are made with butter, but olive oil is a healthier option. It contains monounsaturated fats, which are good for heart health.
3. Reduced-Fat Cheese
Using part-skim mozzarella or a reduced-fat version of your favorite cheese can help lower the calorie count without sacrificing flavor.
Common Mistakes to Avoid When Making Cheesy Breadsticks
Even though cheesy breadsticks are simple to make, there are a few common mistakes that can ruin your results. Here’s how to avoid them:
1. Using Cold Dough
Always make sure your dough has risen properly and is at room temperature before you start rolling it out. Cold dough can be difficult to work with and won’t rise as much in the oven.
2. Overbaking the Breadsticks
It’s easy to overbake breadsticks, especially if you’re waiting for the cheese to brown. Keep a close eye on them during the last few minutes of baking, and take them out as soon as the edges start to turn golden.
3. Skipping the Garlic Butter
Brushing the baked breadsticks with garlic butter isn’t just for flavor—it also helps keep them moist. Without this step, your breadsticks may turn dry and hard.
 FAQs About Cheesy Breadsticks
Here are some commonly asked questions about cheesy breadsticks:
- Can I freeze cheesy breadsticks?
Yes! You can freeze them after baking. To reheat, simply pop them in a 350°F (175°C) oven until warmed through. - How long do cheesy breadsticks last?
They’ll stay fresh for about 2-3 days at room temperature if stored in an airtight container. - Can I use pre-made dough?
Absolutely. Using store-bought pizza dough is a great shortcut if you’re pressed for time. - What’s the best cheese for cheesy breadsticks?
Mozzarella is a favorite because it melts beautifully, but you can experiment with cheddar, provolone, or a blend of cheeses for a unique flavor. - Do I need yeast for this recipe?
Yes, yeast helps the dough rise and gives the breadsticks their fluffy texture.
Conclusion: Your Go-To Cheesy Breadsticks Recipe
There you have it—a foolproof guide to making delicious cheesy breadsticks at home. Whether you’re preparing them for a family dinner or serving them as a party appetizer, these breadsticks are sure to be a hit. With endless customization options, you can make them your own by experimenting with different cheeses, herbs, and dips. Plus, making them from scratch allows you to enjoy a fresher, healthier version than what you’d get at a restaurant.
So, what are you waiting for? Grab your ingredients andget baking! Serve them with your favorite dip, and enjoy the delicious, comforting taste of homemade cheesy breadsticks.


2 thoughts on “Irresistibly Cheesy Breadsticks: A Complete Homemade Guide”