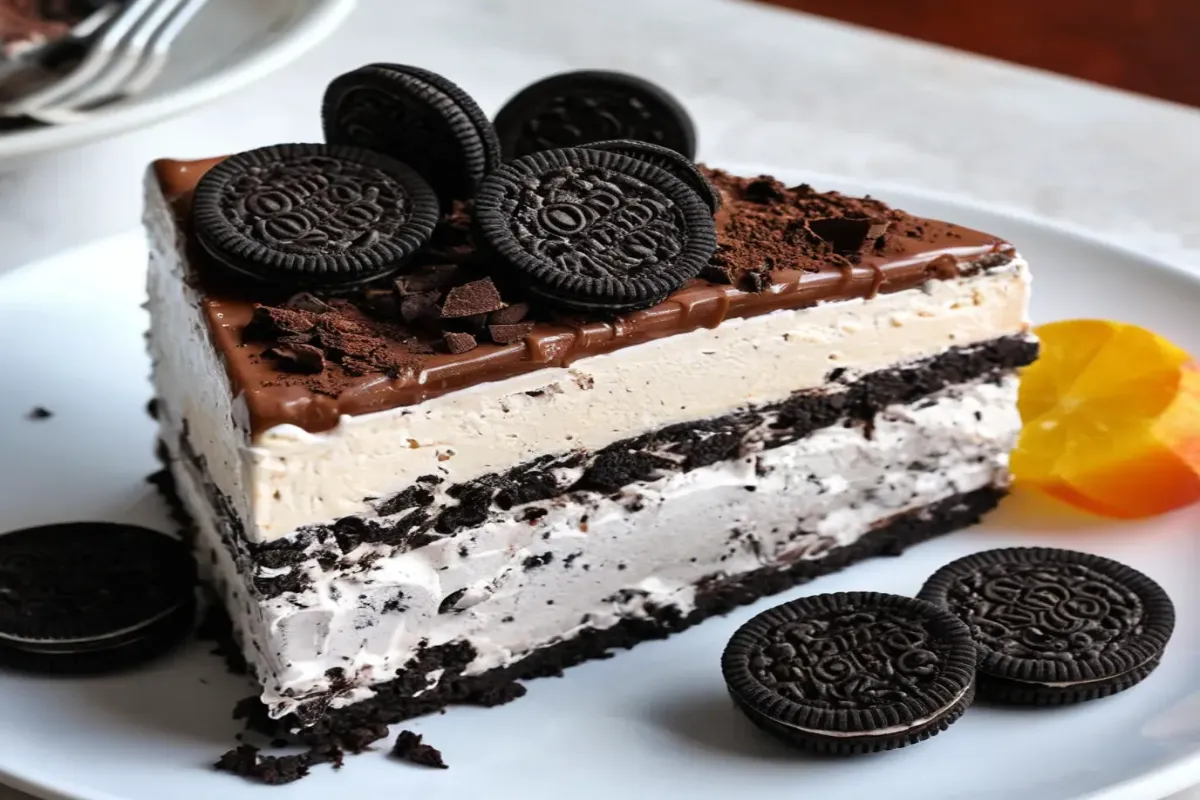
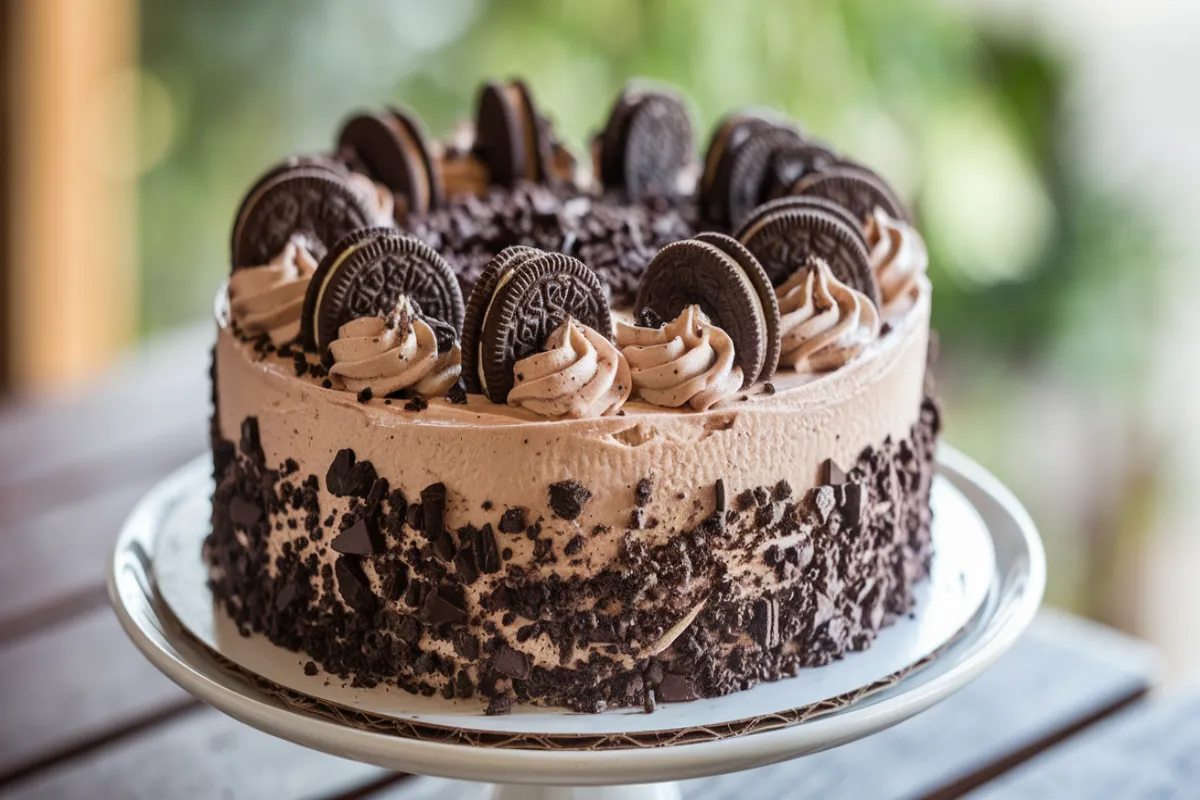
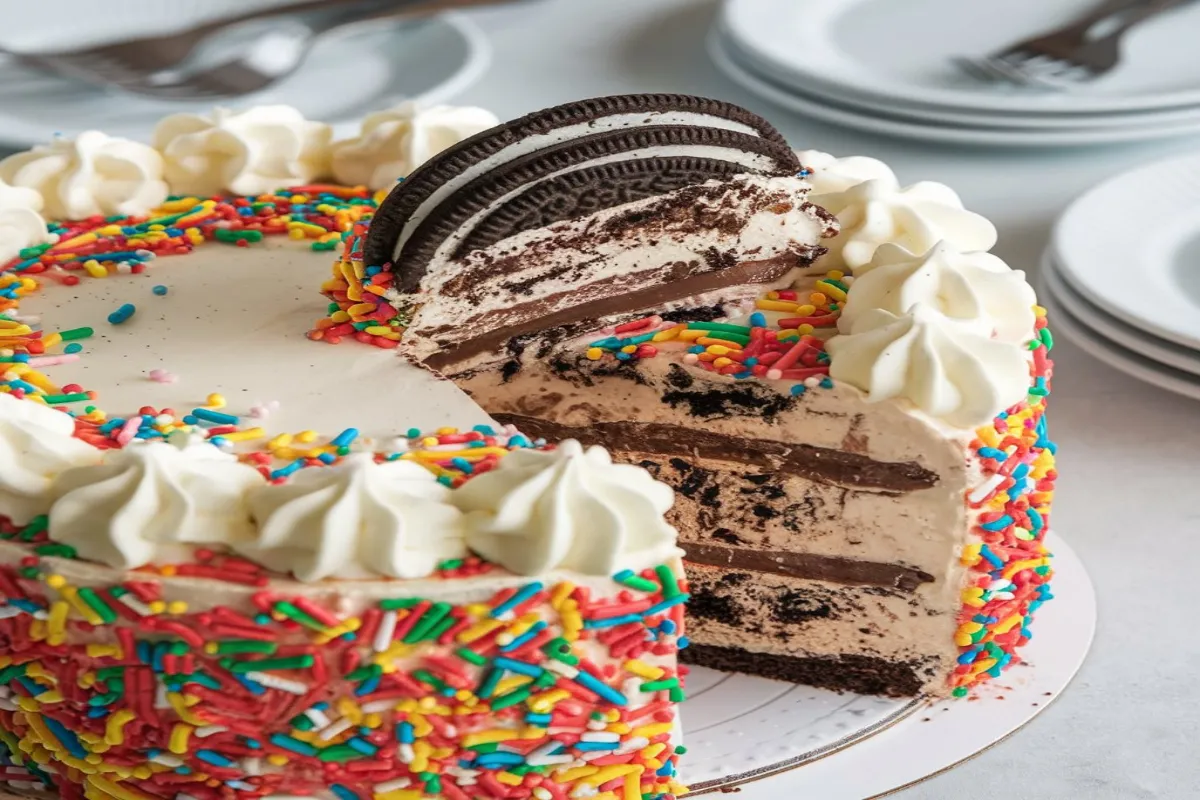
If you’ve ever wanted to make a copycat version of Dairy Queen’s iconic Oreo Ice Cream Cake, you’ve come to the right place! This guide will take you through everything you need to know to recreate this delicious Dairy Queen Oreo Ice Cream Cake dessert in your own kitchen. Dairy Queen Oreo Ice Cream Cake is loved for its layers of creamy ice cream, crunchy Oreo cookie layer, rich chocolate fudge, and fluffy whipped cream frosting – all topped with sprinkles to create the perfect treat. Not only is this cake incredibly tasty, but it also makes for a show-stopping dessert at any gathering or celebration. By following these steps, you’ll be able to make an ice cream cake that rivals the original in both taste and presentation.
Ingredients for the Dairy Queen Copycat Oreo Ice Cream Cake
To recreate this Dairy Queen Oreo Ice Cream Cake, you’ll need the following ingredients. Make sure to gather all of these before starting, as it will make the process much smoother. Each ingredient contributes to the iconic taste and texture that makes this cake so special.
Ice Cream Layers
- 1.5 quarts chocolate ice cream – You can substitute this with your favorite chocolate-based flavor if you want to mix things up.
- 1.5 quarts vanilla ice cream – Classic vanilla helps balance the richness of the chocolate.
Cookie Crunch Layer
- 15 Oreo cookies, crushed – These cookies add a delightful crunch to each bite.
- 3 tablespoons melted butter – Helps bind the cookie crumbs together for a solid layer.
Chocolate Fudge Layer
- 1 cup semi-sweet chocolate chips – You can also use dark or milk chocolate, depending on your preference.
- 3 tablespoons light corn syrup – This helps make the fudge layer glossy and smooth.
- ½ cup heavy whipping cream – Adds creaminess to the fudge.
Whipped Cream Frosting
- 2 cups heavy whipping cream, cold – Cold cream is essential for achieving the right consistency.
- 1 cup powdered sugar – Adds sweetness without the grittiness of granulated sugar.
- 1 teaspoon vanilla extract – A hint of vanilla enhances the overall flavor.
 Essential Tools for Making Oreo Ice Cream Cake
To make the Dairy Queen Oreo Ice Cream Cake, you will need:
- A springform pan (best for easy removal) – This will help you achieve that classic cake shape without worrying about sticking.
- Plastic wrap – Useful for lining the pan and making the cake easy to remove.
- Piping bag (optional, for decorating) – If you want to add decorative touches with the whipped cream.
- Offset spatula – Helps spread the layers evenly.
- Blender or food processor for crushing cookies – If you don’t have one, a rolling pin and Ziploc bag will do the trick.
If you’re not sure about using a springform pan, here’s a guide to using springform pans that might be helpful.
Step-by-Step Instructions: Assembling Your Homemade Dairy Queen Oreo Ice Cream Cake
This recipe takes a bit of time and patience since it requires freezing in between each layer. However, the extra effort is well worth it for the delicious final result of your Dairy Queen Oreo Ice Cream Cake. Follow these steps for the perfect Dairy Queen Oreo Ice Cream Cake recipe.
- Prepare the Cookie Crunch Layer:
- Crush the Oreo cookies into coarse crumbs using a blender or food processor. You can also put them in a Ziploc bag and crush them with a rolling pin if you don’t have a food processor.
- Mix the crushed Oreos with the melted butter and spread them out evenly onto a baking sheet.
- Bake for 8-10 minutes at 350°F to create a crunchy base and then let it cool. The cooling step is important to ensure the crunch layer stays crispy within the cake.
- Make the Chocolate Ice Cream Layer:
- Allow the chocolate ice cream to soften at room temperature for 15-20 minutes, but make sure it’s not melted. Softening the ice cream makes it easier to spread and ensures an even layer.
- Line your springform pan with plastic wrap for easier removal later. Make sure the plastic wrap extends over the sides of the pan.
- Spread the softened chocolate ice cream into the base of the pan, smoothing it out with an offset spatula. Freeze for 30 minutes to set. A firm layer will help the rest of the cake stack nicely.
- Add the Chocolate Fudge Layer:
- Prepare the chocolate fudge by heating the whipping cream until just boiling. Be careful not to overheat.
- Pour over chocolate chips and corn syrup, let it sit for a minute, then whisk until smooth. The fudge should be thick but spreadable.
- Spread the fudge evenly over the chocolate ice cream layer and add the cooled cookie crunch layer over the fudge. Freeze for another 30 minutes. This ensures the fudge and crunch layer set properly and don’t mix into the next layer.
- Add the Vanilla Ice Cream Layer:
- Repeat the same steps as above for the vanilla ice cream layer, softening it first and spreading it over the cookie and fudge layer. Make sure the vanilla ice cream is evenly spread to create a smooth, even layer.
- Freeze for about 2-3 hours until firm. The extended freeze time helps the layers solidify completely, which makes decorating easier.
- Decorate with Whipped Cream Frosting:
- Whip the heavy cream until it forms soft peaks. Cold cream and equipment will help achieve the best results.
- Add in powdered sugar and vanilla extract, continuing to whip until stiff peaks form. The frosting should be thick enough to hold its shape when applied.
- Cover the top and sides of the frozen cake with whipped cream using the offset spatula. Optionally, use a piping bag to add decorative touches and sprinkles for that authentic Dairy Queen look. You can also add crushed Oreo cookies on top for extra flavor and visual appeal.
For more tips on decorating, check out these cake decorating tips and ideas to give your cake a beautiful finish.
How to Store and Serve Dairy Queen Oreo Ice Cream Cake
- Freezing the Cake: After decorating, allow the cake to freeze for at least 2 hours before serving. This ensures that all the layers hold together well, and it makes cutting the cake easier.
- Cutting the Cake: Use a serrated knife dipped in hot water to easily cut through the frozen cake. Dip and wipe the knife after each cut for cleaner slices. This technique helps create neat, even pieces that showcase each delicious layer.
- Leftovers: You can store leftover ice cream cake for up to a week if covered properly to avoid freezer burn. Use an airtight container or wrap the cake tightly in plastic wrap to preserve its freshness.
- Transporting the Cake: If you need to transport the cake, use a cake carrier or an insulated cooler to keep your Dairy Queen Oreo Ice Cream Cake cold and intact. Make sure the cake is frozen solid before moving it to prevent any melting or shifting of the layers.
Common Mistakes to Avoid When Making Oreo Ice Cream Cake
- Rushing the Freezing Process: Each layer needs adequate time to freeze, so patience is key. If you rush the freezing process, the layers may blend together, and the final cake won’t have the distinct, clean layers that make it look and taste so great.
- Hard Ice Cream: If the ice cream isn’t soft enough, it can be difficult to spread evenly, leading to an uneven cake. Allow the ice cream to soften but not melt completely. This ensures a smooth layer without any ice crystals.
- Not Using a Springform Pan: Using a springform pan makes removal much easier. If you don’t have one, line your regular cake pan with enough plastic wrap to help lift the cake out. A springform pan helps keep the layers intact, making it much easier to achieve a professional-looking cake.
 Frequently Asked Questions (FAQs)
Can I make this ice cream cake in advance? Yes, you should! This cake can be made up to a week in advance if stored in the freezer and covered properly. Making it in advance allows all the flavors to meld together beautifully【9†source】.
How do I cut through an ice cream cake without cracking it? Use a long serrated knife dipped in hot water for straight, clean cuts. The heat helps glide through the frozen layers without causing cracks or crumbles
Can I use different ice cream flavors? Absolutely! You can switch up the flavors to create your own variation, such as adding mint chocolate chip or strawberry ice cream. You could even add a layer of cookies and cream or peanut butter for extra flavor.
What is the best way to crush the Oreo cookies? Using a food processor is the easiest method, but if you don’t have one, placing the cookies in a Ziploc bag and using a rolling pin works just as well. Make sure to crush them finely enough to create a uniform layer.
Can I use store-bought fudge instead of making my own? Yes, you can use store-bought fudge if you’re short on time. However, making your own allows you to control the sweetness and consistency, which can enhance the final taste of the cake.
Conclusion
Making a Dairy Queen Oreo Ice Cream Cake at home is easier than you think, and the best part is that you can customize this Dairy Queen Oreo Ice Cream Cake recipe however you like. Whether it’s a birthday, a celebration, or just a hot summer day, this ice cream cake is sure to be a hit with everyone. The combination of creamy ice cream, crunchy cookie layers, rich chocolate fudge, and fluffy whipped cream frosting creates a dessert that’s impossible to resist. Gather your ingredients, grab a springform pan, and start creating your own sweet masterpiece today!
Enjoy your homemade Oreo Ice Cream Cake, and don’t forget to share it with friends and family! Making memories is even sweeter when there’s cake involved. Whether you’re an experienced baker or trying something new, this recipe is a delightful way to bring smiles to everyone around you.

